It’s June here in Kefalonia and salad time under a sunny blue sky. The seasonal wild greens – ‘horta’ – which you now find in some green grocers are a leafy vegetable called Vlita. It’s in season from early summer until autumn, June to September.
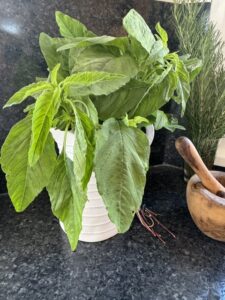
When I looked up the English translation and found ‘amaranth’ I was none the wiser; not a leafy veg I’ve cooked before, although amaranth seed has been in my line of sight since I first studied nutrition. A remarkable gluten free, high protein seed that’s definitely worth adding to your library of recipes. I’ve added some info about it below at the end of my recipe.
The whole amaranth plant can apparently be eaten, not just the leaves and seeds but the flowers and root as well. What a star plant, right!?
The leaves are similar to spinach, in fact cousins, since they’re part of the same ‘amaranthaceae’ family, but with a milder flavour when cooked, none of the slightly bitter aftertaste spinach can have. So subtle, however, that it definitely needs the recommended fried onion and lemon juice to zhoosh it up.
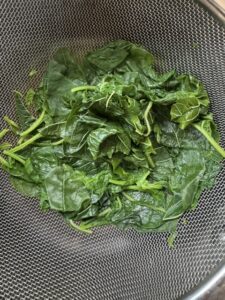
I was told the young amaranth leaves only need frying for about 10 minutes, but wild greens are often boiled here in Greece, and for good reason. Even briefly boiling them will help reduce the amount of oxalates they contain. You can find a word – or twenty! – below** explaining a little about these so-called anti-nutrients. Why it’s best for some to control how many high-oxalate foods they consume.
This recipe came about because Nick-up-the-track gave us a big bag of vlita from his garden. Not a clue what to do with it but between him and a few Greek recipe books plus online scrolling I decided I’d use them with whatever dinner I could rustle up.
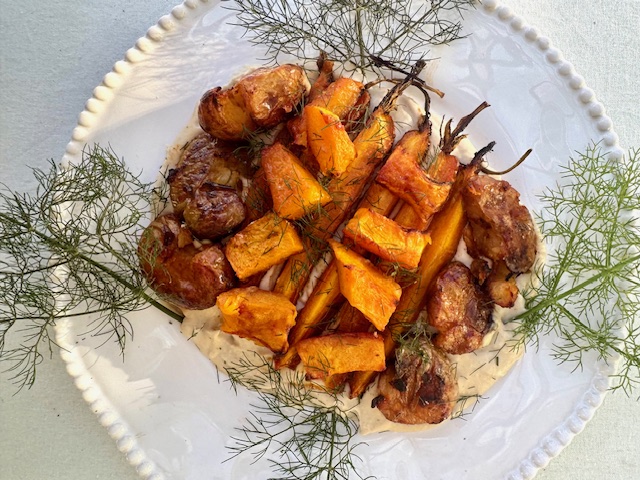
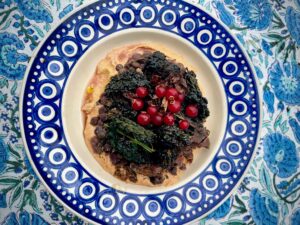
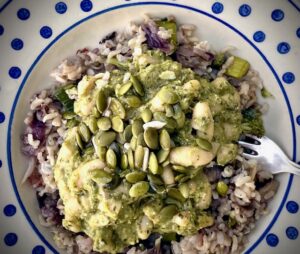
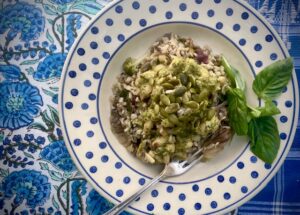
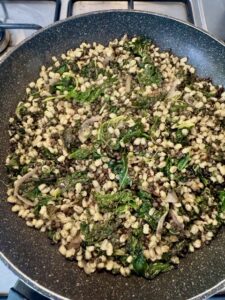
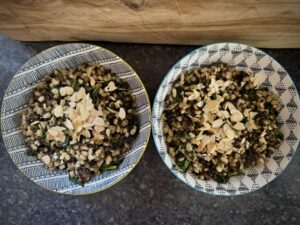
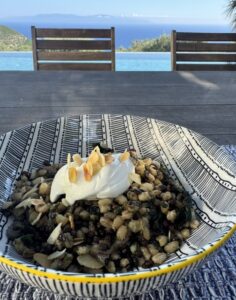
We had left-over cooked barley from a delicious salad inspired by St Peter’s restaurant. and a bowl of cooked lentils – always lentils in our fridge! Together with the freshly prepared amaranth, the resulting meal was delicious. Topped with toasted almonds and a dollop of yoghurt, it turned into a perfect Greek dish for us.
Instead of amaranth, you could use spinach or kale. And you can replace the gluten-heavy barley with brown or mixed rice – or quinoa, which is yet another cousin in this spinach-amaranth ‘Amaranthaceae’ family. How very Greek, all these cousins!!
Ingredients for 2:
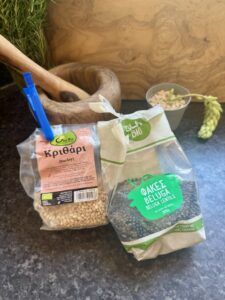
150g cooked barley (or brown rice, quinoa…). Follow your packet instructions re timings. Mine were all in Greek but 30 mins worked.
150g cooked beluga lentils. Brown lentils might make the end dish look too sludgy
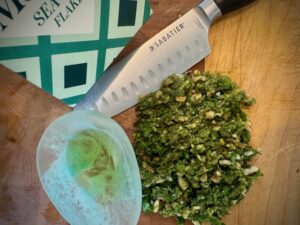
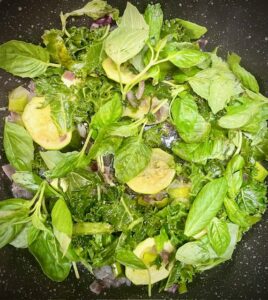
c 150g amaranth or spinach leaves, roughly chopped and lightly boiled (to reduce those oxalates)
a generous swish of olive oil to lightly fry
1 red onion, sliced
2-3 cloves garlic, crushed
freshly ground pepper
Juice of one lemon
Topping:
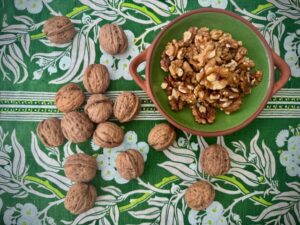
toasted slivered almonds
dollops of any yoghurt you love. Or not!
Method:
Heat a generous slosh of olive oil in a frying pan on medium heat.
Add the sliced onion and gently cook until transparent. Then add the crushed garlic and stir for a minute.
Next, mix in the lightly boiled chopped greens followed by the cooked barley and lentils.
Gently combine, add lemon juice & pepper – and a little more olive oil for some shine.
That’s about it, so easy, but do a taste test and adjust to your liking.
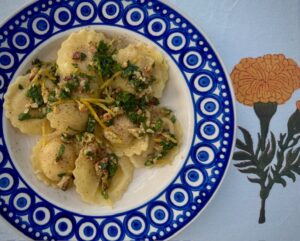
Serve on a plate or pasta bowl, top with the almonds and a dollop of yoghurt.
Let me know how it goes!
*Amaranth seed is a complete protein, like chia and hemp seed. This means it has all 9 essential amino acids that you can only get through foods like meat/seafood/soybeans. You can’t make these essential amino acids in your body, it has to come from food.
Given that amino acids are the “building blocks of protein”, and you need protein for …everything! it’s good to know that amaranth seed is such an excellent source. Especially if you’re vegan or vegetarian.
The flour is gluten free, ‘ray! Apparently on the heavy side and best combined with other gf flours to give a lighter bake. The seed’s flavour is said to be a bit earthy or grassy.
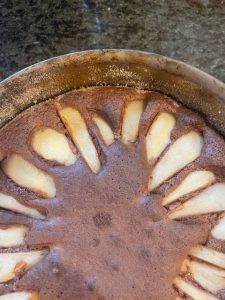
These amaranth leaves from Nick have inspired me to try out all sorts of amaranth seed recipes next month. Porridge-type b’fasts and desserts, or polenta-ish sides, or as a thickener in soups. And I found this amaranth biscuit recipe which sounds delicious.
** Oxalates:
Like spinach and many other healthy foods, amaranth is high in these so-called anti-nutrients. What they do is bind to minerals in the food you’ve eaten, and form a compound that passes right through you. That means you can’t utilise any of the benefits these minerals should be giving you (think calcium, magnesium, potassium etc for bone health alone!)
Oxalates are important to be aware of if you’re prone to kidney stones, or have a kidney condition, or osteoporosis or some malabsorption digestive disorders eg. IBD, coeliac disease.
Saying all that, amaranth leaves, like spinach, are still a health-giving, delicious foods. A great fibre food to nourish your gut microciome, with amaranth having super high amounts of Vit C and K, whilst spinach boasts great Bs, folate, magnesium a.o. There are many delicious, healthy oxalate foods out there, so take a look at this link . The message in the end is to go easy and don’t eat them in excess.